
This article will explain how to add and remove a tree species in the Look Up Table Editor. All TreePlotter™ applications come with a default tree species list for a given region, but you may want to add or remove tree species based on your specific location and use of the application. Note: depending on your user level, you may not be able to perform this task. If this is the case, please contact your TreePlotter administrator to add or remove the species for you.
Prerequisites:
- Access to log in as a user with access to the Lookup Table Editor (usually the Admin role)
- Tutorial: Look Up Table Editor
Open the Species Lookup Table:
There are two ways to get to the Species table, directly from a tree, or via the Lookup Table Editor. Once you’ve got to the Species table, please continue with the instructions to add or remove a species.
Option 1 – Via the Tree Details form
- Click on any tree point on the map (continue from step 3 if you have just added a new tree)
- Click the ‘Details’ button on the popup

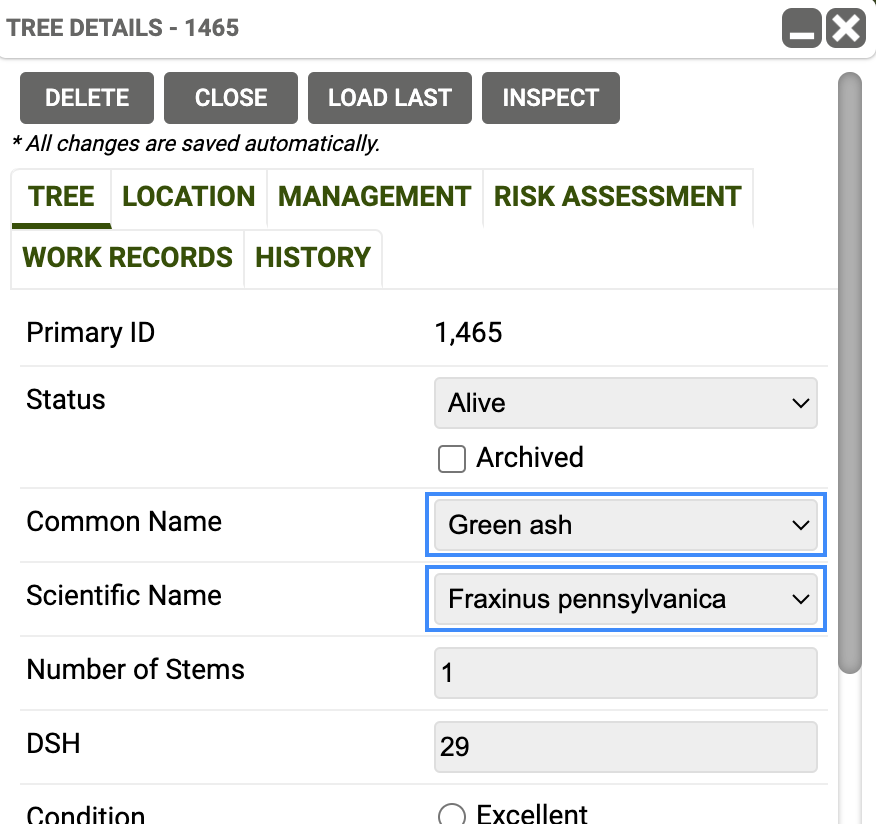
- Locate the ‘Common Name’ or ‘Scientific Name’ field
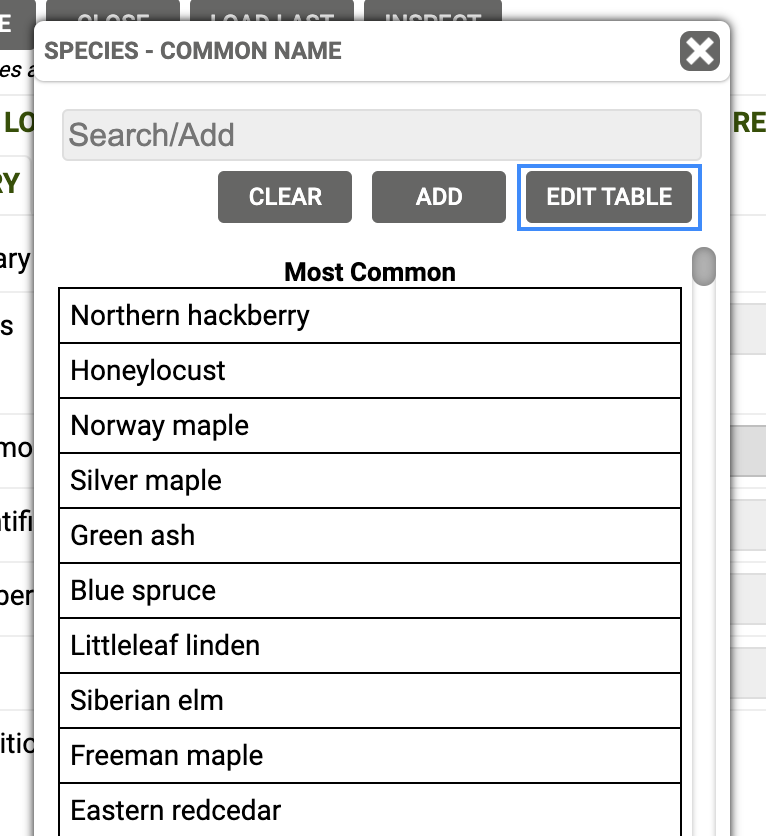
- Click on the field to get a drop down of the existing species values
- Click on the ‘Edit Table’ button
- This will open the Species lookup table
Option 2 – Via the Hub
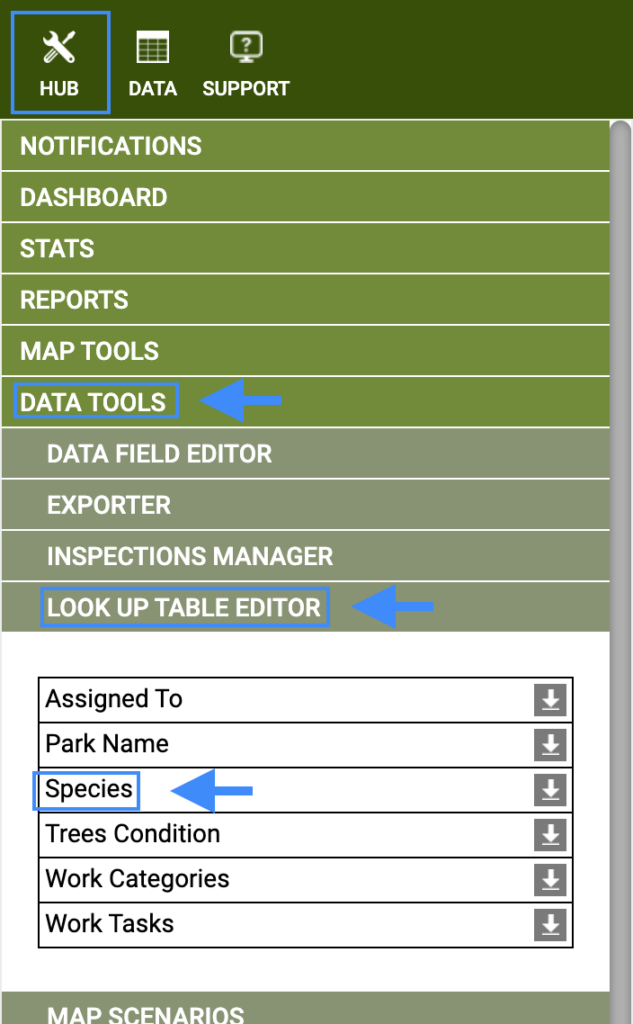
- Click on HUB > Data Tools > Lookup Table Editor
- Click on Species
- Note that you can click anywhere in the row except for on the download button on the right, which will download the species list to spreadsheet rather than opening it for you.
Add a new species
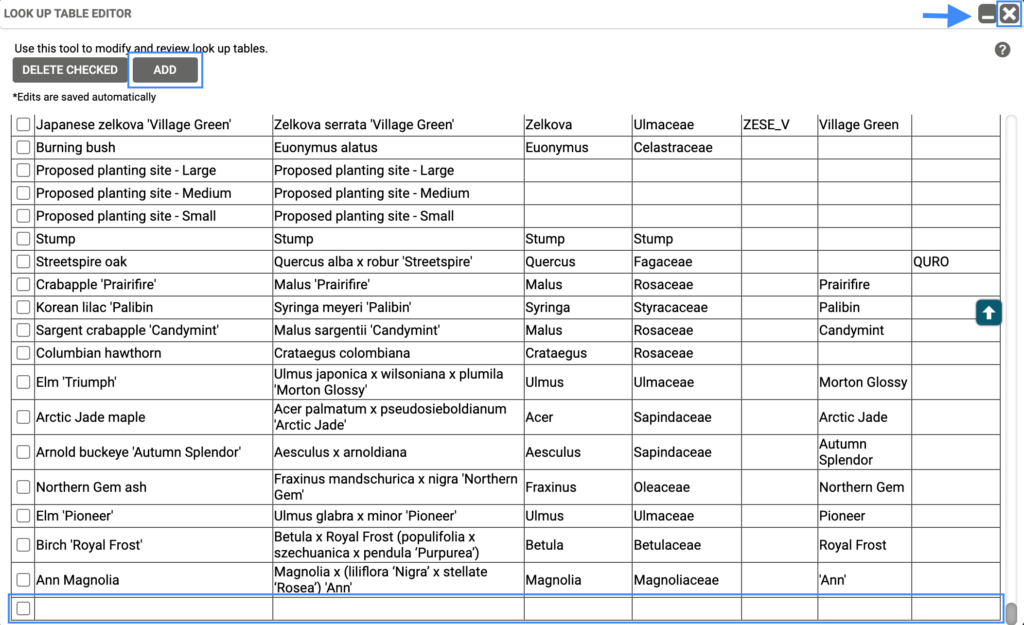
- With the ‘Look Up Table Editor’ now open, click on the ‘Add’ button at the top
- This will create a blank row at the bottom of the table
- Please fill out the necessary details
- Click the ‘X’ button in the top right corner to close the table
- Your new species is ready to use
Delete a species
Species may be deleted if they have been entered in error, they are a duplicate, or if the species isn’t one that appears in the local area.
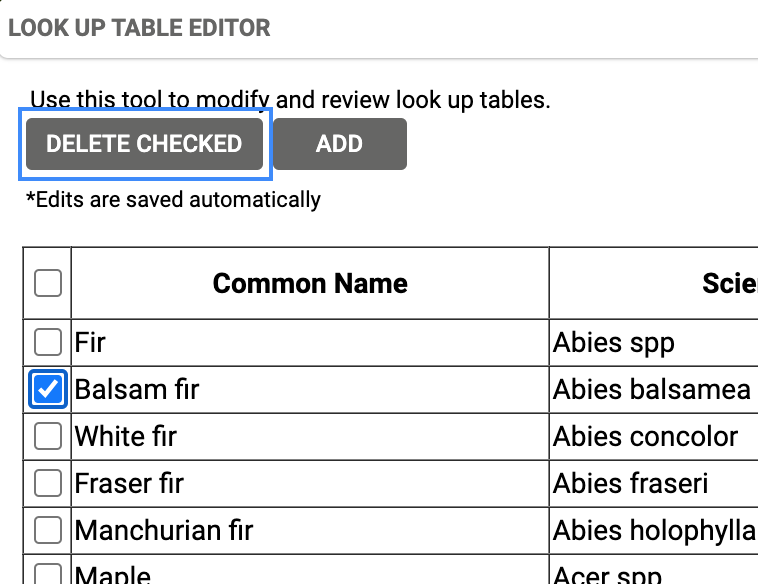
- With the ‘Look Up Table Editor’ now open, look for the species you wish to remove
- Tick the box to the left of the species, you may tick more than one at a time
- Click on the ‘Delete Checked’ button at the top
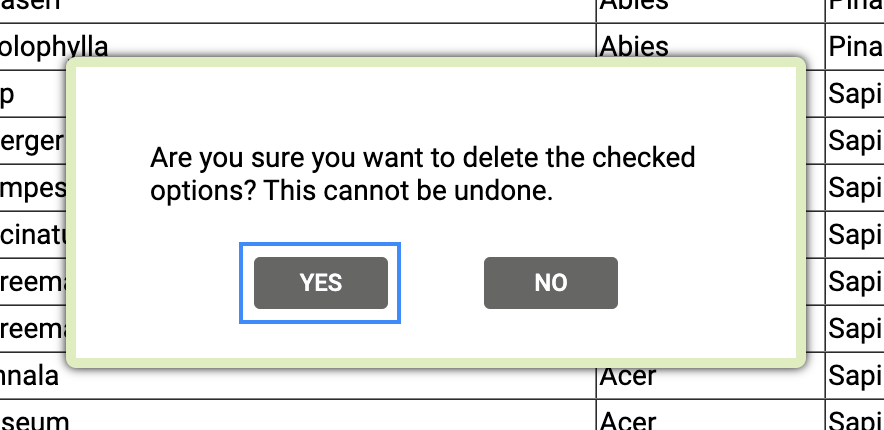
- Click the ‘Yes’ button to confirm
- The species has now been deleted from the species list
- Click the ‘X’ button in the top right corner to close the table
Note: If a species is in use and you delete it from the table, the trees will now show as having a blank species. We would recommend filtering for that species to check if it is in use. You may choose to not delete the species now, or to mass update those trees to be a different variant of that species.

Known Limitations:
- If you do not have the Lookup Table Editor, or the Edit Table button then your permissions don’t allow you to make changes to the species
- Please contact your TreePlotter administrator and ask them to make the required changes
- Your administrator may prefer to change your permissions so you are on a role that has access to the Lookup Table Editor