
The Uploader tool is designed to tackle the typically cumbersome process of importing data into TreePlotter™ INVENTORY that may or may not be the same format or have the same attributes as the standard INVENTORY format. Follow these instructions to bring your data into TreePlotter, once your file is ready.
Prerequisites:
- Must have an Admin account in order to access this tool
- Must read Preparing Data for the Uploader to ensure your data is ready for the uploader.
Topics covered in this tutorial:
- Location of the Uploader tool.
- Preparing the file
- Uploading the file
- Steps to upload
- 1. Overview
- 2. Info
- 3. Upload
- 4. Confirm
- 5. Crosswalk
- 6. Complete
- Troubleshooting
- Error Loading Shapefile to Database
- Invalid File Please try again
- Error Loading CSV
- Video Tutorial
Where is the Uploader tool:
Note: We would recommend running this process from a computer, rather than a tablet, or you may not be able to use all of the cross walking functions.
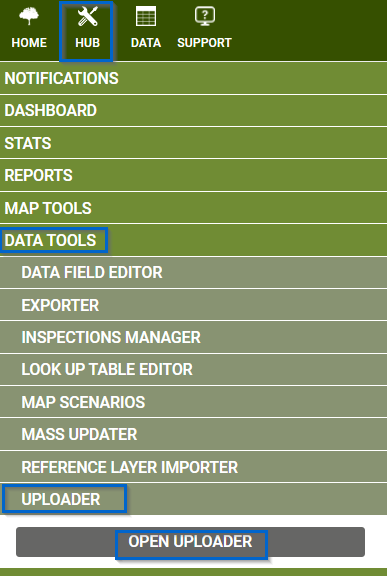
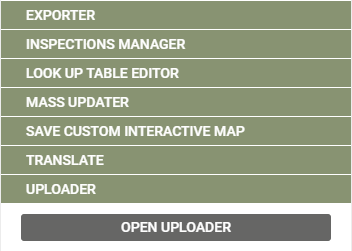
Go to HUB > DATA TOOLS > UPLOADER and click on the ‘OPEN UPLOADER’ button.
Preparing the File:
- Make sure your shapefiles are projected to EPSG:3857 – WGS 84 / Pseudo-Mercator.
- Navigate to where you saved the file using Windows Explorer and highlight all files that are part of the shapefile. Right-click on it and click Send To – Compressed Zip File.

To prepare a .csv file for upload, open it in Microsoft Excel and use the ‘Save As’ button to save the file as a Comma Separated Variable file (.csv) or UTF-8. To prepare a CSV be sure to have the CSV meet the following requirements:
- Remove special characters (@, #, $, %, *, …) throughout the data
- Remove spaces and special characters in the headers. Make sure headers are 10 characters or less.
- Keep the file name within ten characters and remove special characters
Next, you will prepare your data and TreePlotter for your Upload. To get a complete list of tips, please visit our Support Article here to learn more about preparing your data.
Uploading the File:
If the Uploader tool was included in your INVENTORY app, it will appear under HUB > DATA TOOLS > UPLOADER when logged in. Click on the tool and then click the ‘OPEN UPLOADER’ button to open the tool in a separate window.
This will open the Uploader, which is broken up into six different steps:

1. Overview:
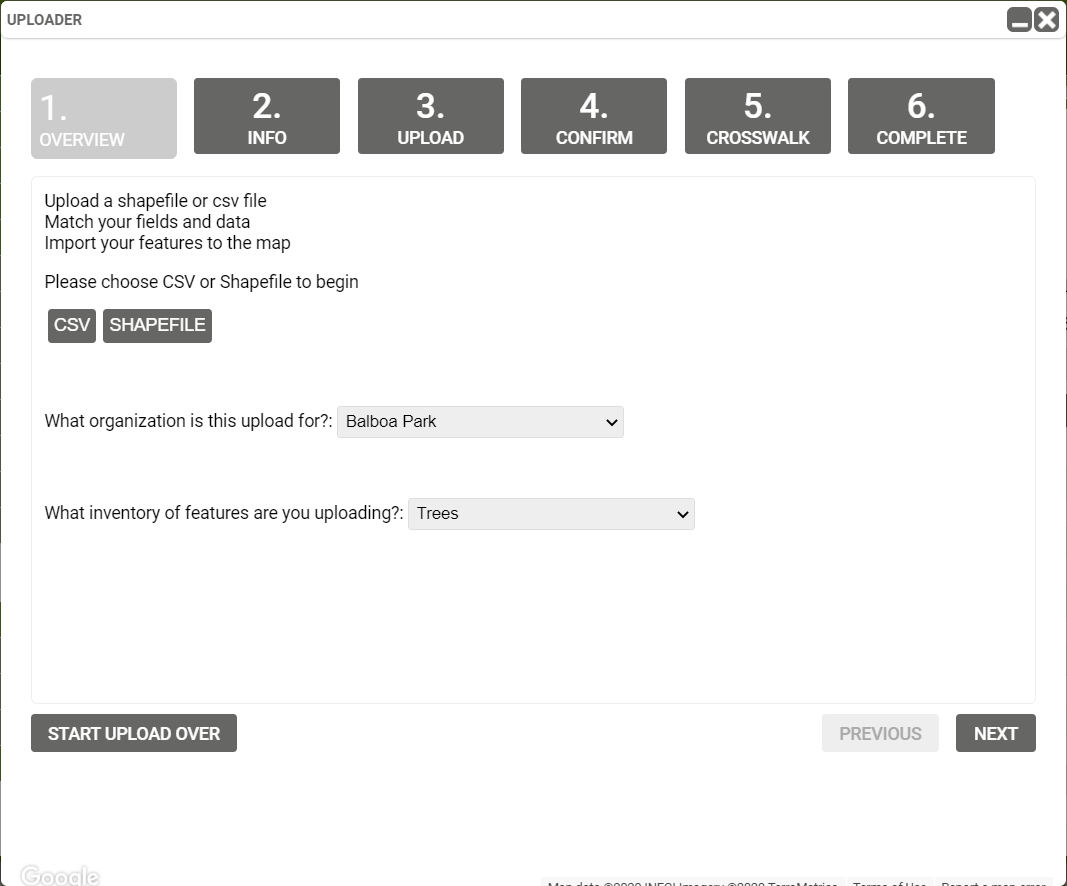
First, select what kind of file the data is saved in – either CSV (.csv) or Shapefile (.shp). Then choose what organization, if applicable, and which inventory layer you would like your data uploaded to.
Click the ‘NEXT’ button (bottom right) to continue the upload process.
2. Info:
This page provides information and instruction on the type of file you uploaded.
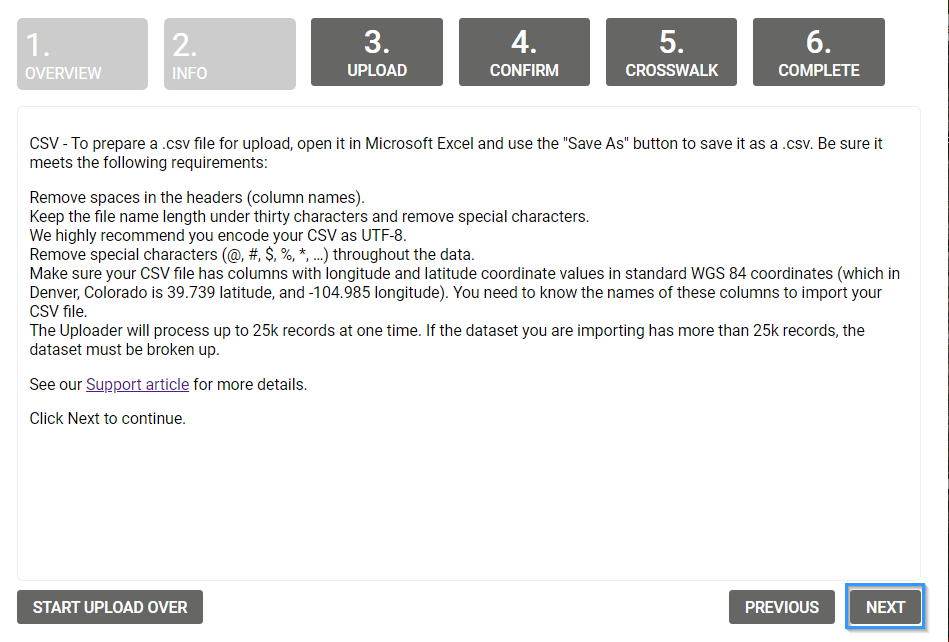

Click the ‘NEXT’ button (bottom right) to continue the upload process.
3. Upload:
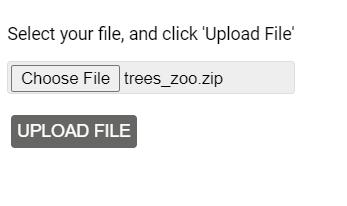
Browse to the desired upload file and add it to the Uploader. Click the ‘UPLOAD FILE’ button to add it to the application.
4. Confirm:
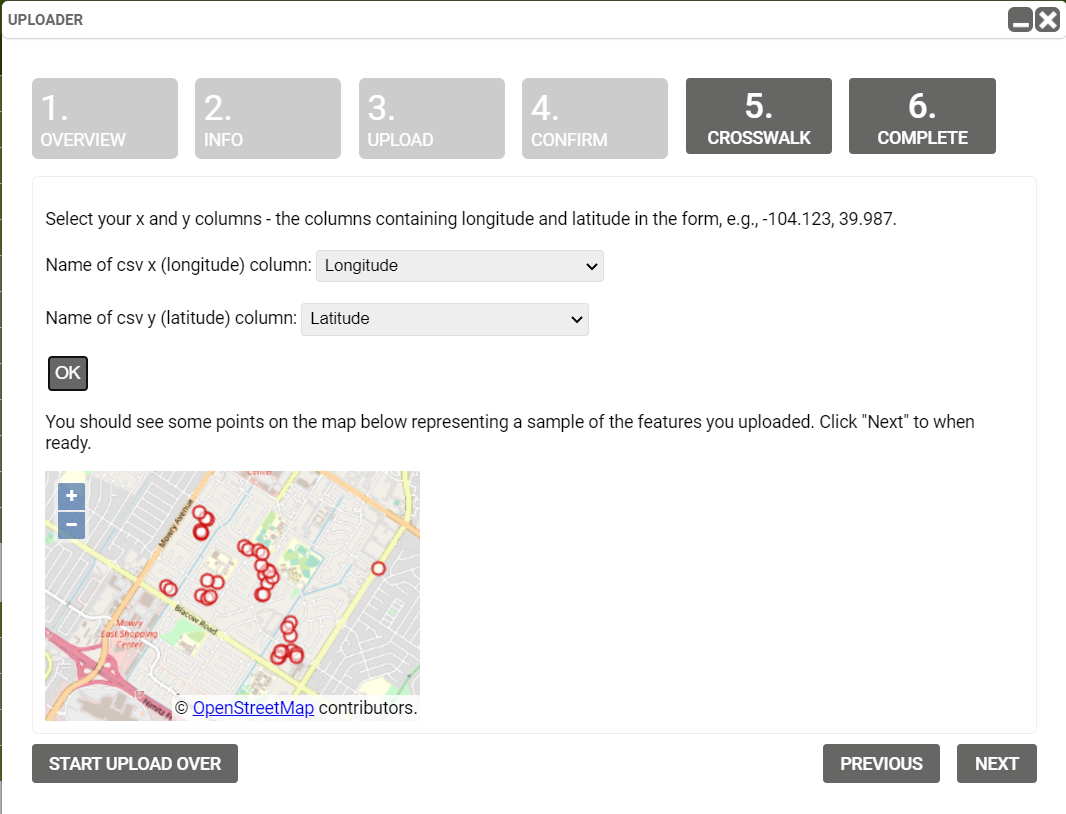
If you have chosen a .csv file, you will be asked to specify which columns in the upload contain the xy coordinates for the points. Confirm that you see red dots showing up in the approximate location of the features you uploaded.
Note: If you do not see red dots showing up on your map, do not continue with the upload as your data will not import correctly. Check to make sure your zipped file has all the necessary components or contact TreePlotter support here.
5. Crosswalk:
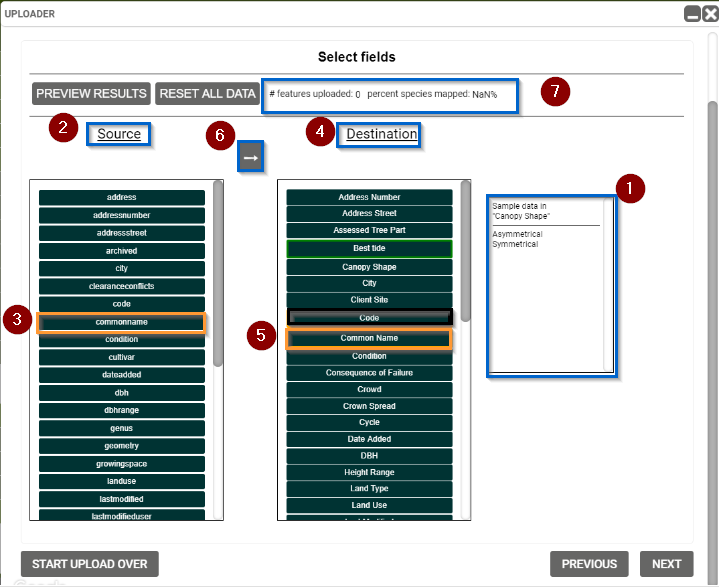
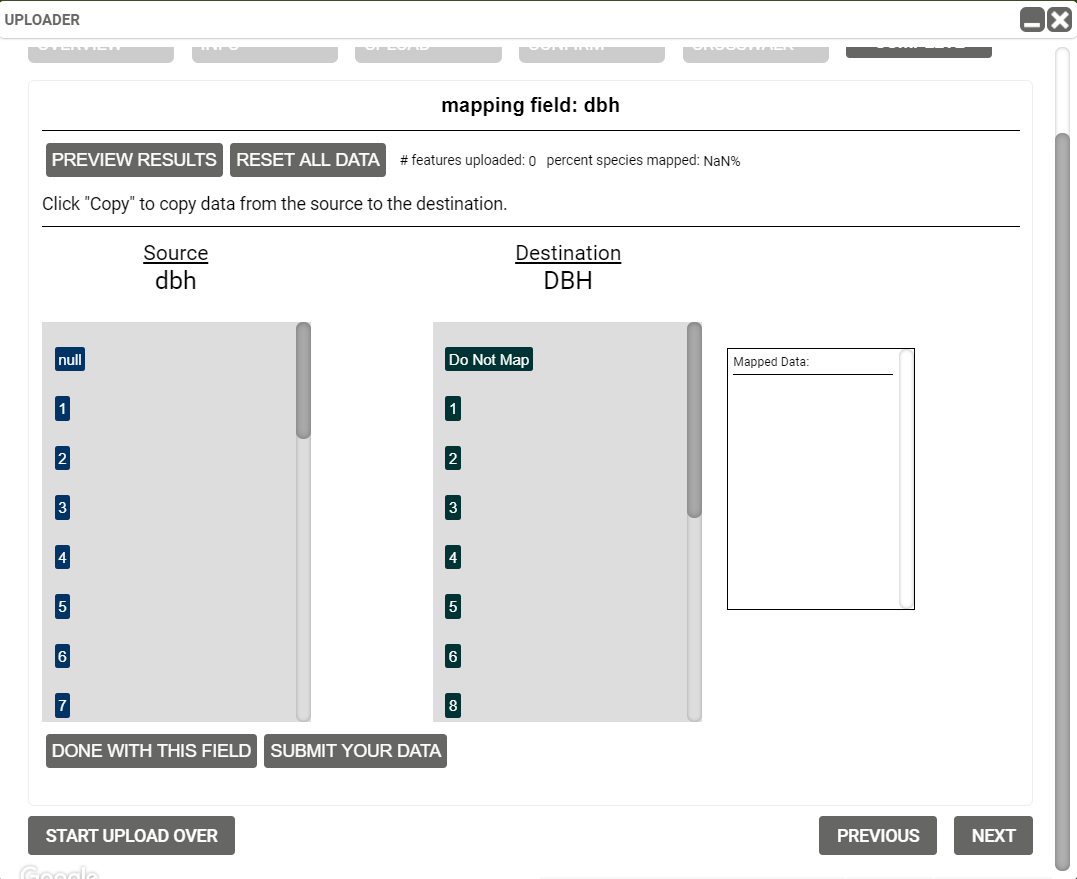
The Crosswalk tab is where uploaded data can be converted from its existing format to fit within the framework of INVENTORY. There are several different components of this tool to be aware of:
- ‘PREVIEW RESULTS’ button – Clicking this will provide a snapshot of uploaded data (1). Use it to track your progress and verify that data is being uploaded correctly.
- ‘RESET ALL DATA’ button – Clear all data from the crosswalk process to start over. The window at the far right shows a preview of the column contents (1). To preview a column, hover over it with the mouse.
- Columns from the uploaded file appear on the left under the Source link (2).
- The INVENTORY framework appears on the right under the Destination link (4).
To crosswalk a field:
- Click a field on the left (3)
- Click the field you wish to map it to on the right (5).
- Click the arrow button to begin the crosswalk process (6)
- Note: for cross walking the Species we recommend only cross walking one of the two species fields — Species Common or Species Latin — because all Species fields will be populated by cross walking just one of these two Species fields. It is best to see which field has the most matches in the Species table with your data to determine which to use.
- After cross walking the Species field — either Species Common or Species Latin — check your progress at the top where the display shows, “# features uploaded: percent species mapped” (7). The percent species mapped should be at least 99% or you may have problems with the species uploading correctly.
Types of Fields to crosswalk:
There are two types of fields that the Uploader handles. They are referred to as “map” fields and “copy” fields. Map fields require the user to drag and drop the select options from the upload file over to the Destination, or INVENTORY framework. This includes any field where there are dropdown select or check box options, including condition, maintenance needs, clearance conflicts, and more. This process is detailed below. Copy fields takes the exact content of the records from the upload and pastes them into the field in INVENTORY. This includes fields like date planted, DBH, notes, and more.
If the field you have chosen is a “map” field, the interface will look like the figure below. The Automatch button will match your upload options with a current TreePlotter value. Try this function first to save some time on mapping your values. If some values don’t match, the user will click and drag the item from the left side to the corresponding one on the right. Note: more than one selection from the left can be mapped to one option on the right. For example, if your upload file contains data on tree condition for “Poor” and “Very Poor”, you can combine them into “Poor – Major Problems” to coincide with INVENTORY’s standard condition choices. The available options within the INVENTORY framework is defined by the client and PlanIT Geo™ prior to building the application.
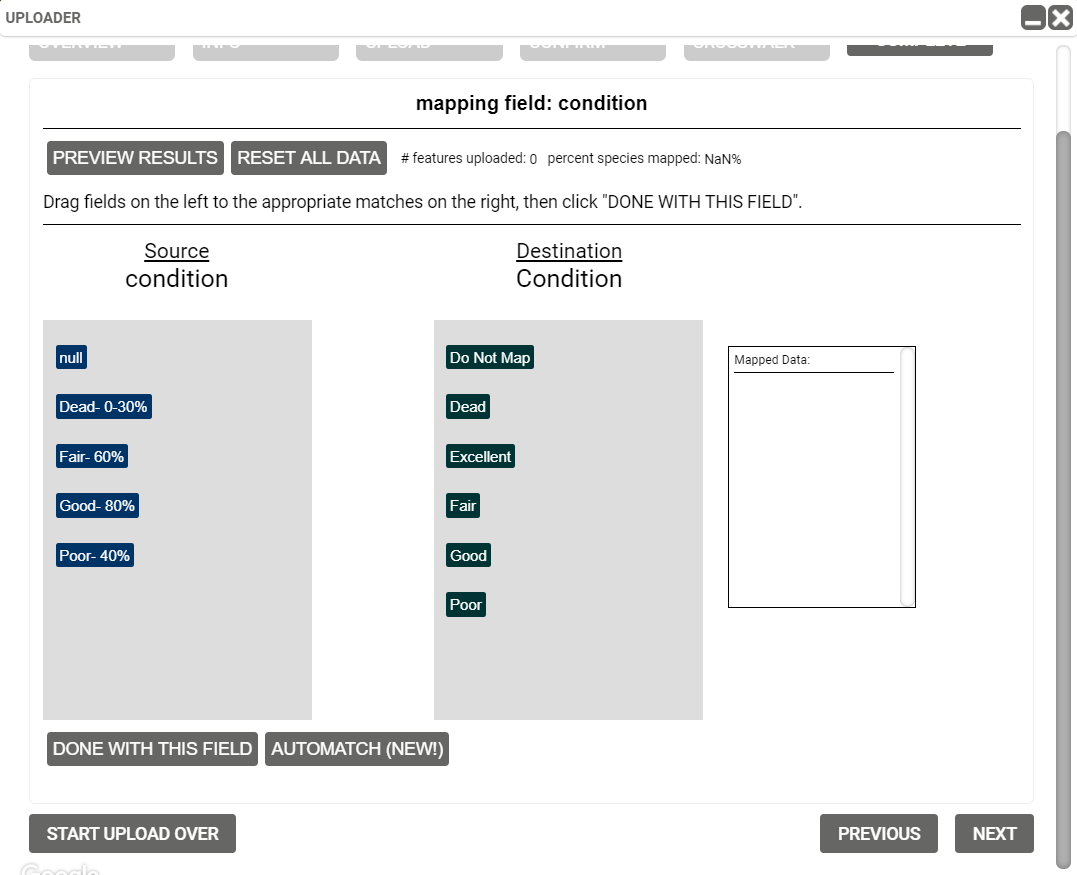
Once you have dragged all options over from the left side, click the ‘DONE WITH THIS FIELD’ button. If you have null values we recommend not mapping them to anything including “Do not map.”
For “copy” fields, the buttons will look slightly different. The ‘SUBMIT YOUR DATA’ button will copy all of the contents directly into the INVENTORY column. After you click the ‘SUBMIT YOUR DATA’ button, select the ‘DONE WITH THIS FIELD’ button to return to the previous screen. These fields include address, DBH, or height (numbers and text).
Click the ‘NEXT’ button (bottom right) to continue the upload process.
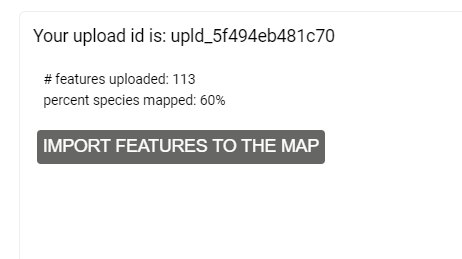
6. Complete:
The last step is to click the ‘IMPORT FEATURES TO THE MAP’ button. Once this has been selected, the trees will show up as points on the map.
Note: once the ‘IMPORT FEATURES TO THE MAP’ button has been clicked, the changes are final; double check your data before clicking. This page also specifies the generated upload ID for your upload. This upload ID will be relevant if the User has the need to Mass Delete data by upload ID. After capturing your upload ID, click the ‘FINISH’ button.
Troubleshooting:
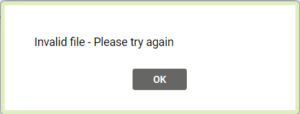
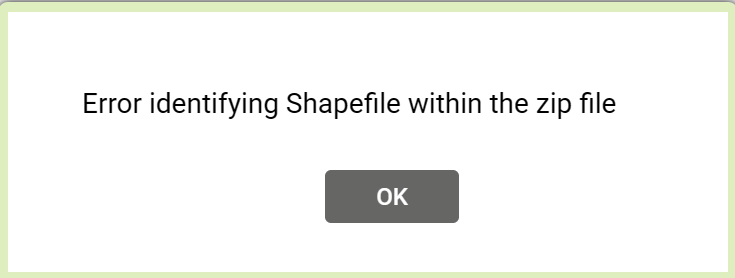
- “Error Loading Shapefile to Database” or “Invalid File – Please try again” or “Error identifying Shapefile within the zip file”
- Check your zip file contains all of the shapefile files and that they aren’t in a subfolder
- Also check the files aren’t in use in another application, such as QGIS
- “Error Loading CSV file.”
- Delete any columns labelled Photos or Geom (they may appear if you initially exported the data from TreePlotter)
Known Limitations:
- The uploader will only work if all the data in your Input file matches the data in TreePlotter.
- If the data does not match: for instance, you are trying to put text data type into a numeric field, the data may not upload successfully, or in some instances, the data will upload but that field will be empty
- Invalid headers might cause data not to upload. See Preparing Data for the Uploader
- Cross walking data incorrectly can cause your data not to upload or to upload incorrectly
- The Uploader tool will only create new records, it can’t be used to update existing data.