
This How To article will use the Advanced Filter to find Tree Inspections performed in a specific Date Range. While Inspections are not individually viewable on the map, you can still use the Advanced Filter to select a subset of Inspections in your TreePlotter™ app. The processes for filtering Inspections data below applies for Inspections on another layer with different fields.
Prerequisites:
Steps:
- Open the Advanced Filter
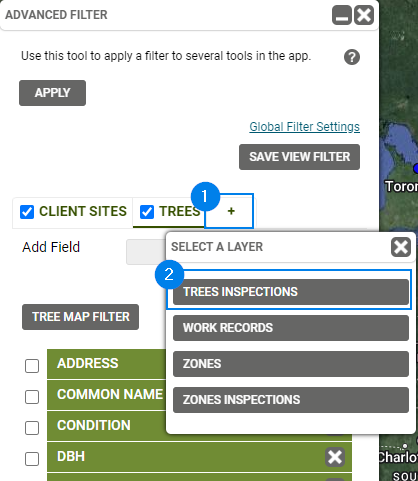
- Click on the plus (+) sign to add a new layer to the Advanced Filter.
- From the small popup, select the Tree Inspections option
(Note: your popup may look different from the screenshot based on the layers in your app) - Now the Tree Inspections are a tab within the Filter. Navigate to the tab, if it is not yet selected.
- Using the Add Field dropdown, select your desired field(s) to add them to the filter.
- Note: The fields available in dropdown are those that have been added to your Inspections Form.
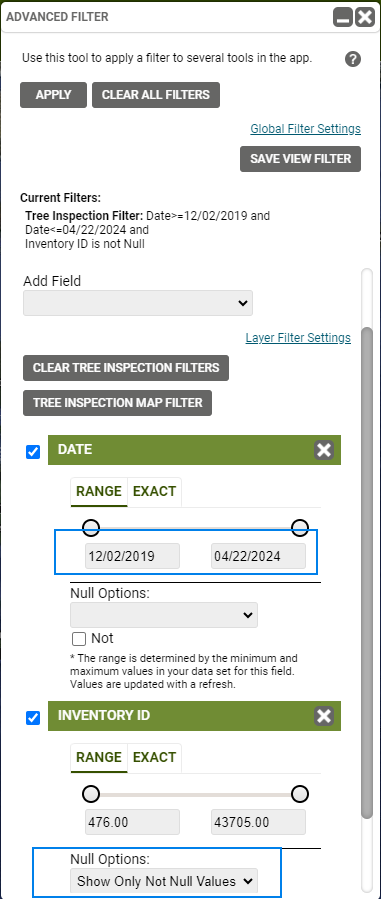
6. For the Date field, specify the Range or Exact date.
7. For the Inventory ID field, set the Null Options dropdown to Show Only Not Null Values.
8. Click the ‘APPLY’ button.
The map will now only display the Trees that (1) had an Inspection done and (2) had that Inspection done within a specific timeframe or on a specific date. The Tree and Tree Inspections Data Tables will only show the relevant data as well.
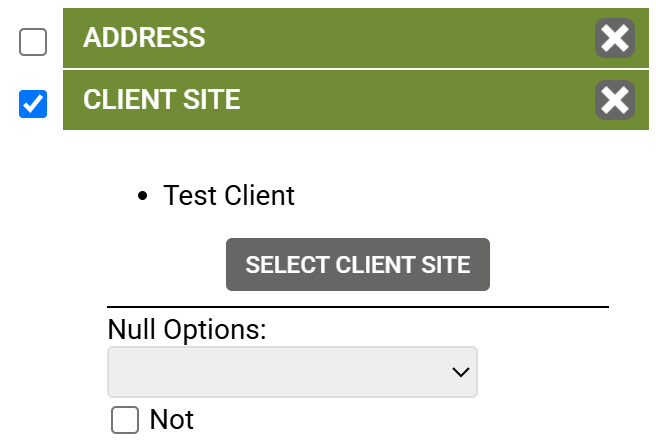
Additional step if you have Client Sites or Organizations:
Loading the Trees within a Client Site/Organization will not filter down the Inspections, so you need to also apply a filter on the Trees layer and specify the client site you need.
Known limitations:
- If you inspect a tree but change no details, the Last Modified date and user will not be updated with those of the inspector, they will stay as whoever last updated the tree. That’s why filtering on the Tree Inspection layer is the way to accurately reflect on which trees were inspected and when.