
The Inspections Manager tool allows you to configure which fields are displayed when carrying out an inspection.
Topics covered in this tutorial:
- Navigating to the Inspections Manager
- Choosing an asset Layer
- Managing Fields
Navigating to the Inspections Manager:
- This tool is located in two places: the HUB and within the Details form
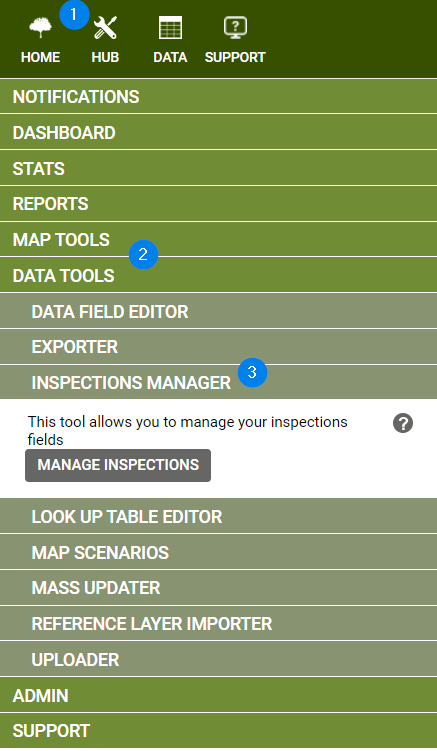
- From the HUB:
- HUB
- Data Tools
- Inspections Manager
- From the Details form
- Navigate to the Inspections feature
- Click the ‘Add/Remove’ button
- The Inspections Manager tool will open in a new popup window
Choosing a Layer and managing fields:
- Click on the ‘Manage Inspections’ button and select the relevant layer.
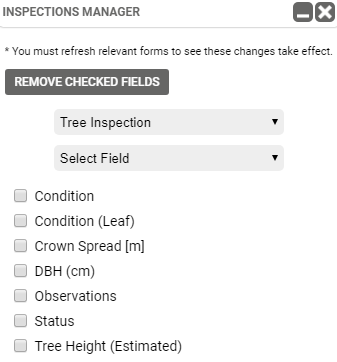
- This will display the fields that currently appear on the inspection form.
- To Remove fields: select one or more from the list by checking the box on the left-hand side then press the ‘Removed Checked Fields’ button.
- To Add fields: Open the Select Field dropdown menu and select one or more fields from the list
Known Limitations:
If you make any changes to the Inspections fields, you will have to exit out of your current Inspection form and open it again to see the changes.