This article will serve as an overview of Organizations and Client sites, a valuable tool for clients to organize and delineate data in their TreePlotter™ application.
Topics covered in this Tutorial:
- Overview
- Adding an Organization
- Accessing Your Trees
- Advantages to Using Organizations
Overview:
Organizations, also referred to as Client Sites or Projects, are a powerful way to break up data in a TreePlotter application for a variety of clients. Each TreePlotter application can have multiple organizations, depending on the scope and size of the project. Each Organization has its own point on the map, and can have its own subset of data, complete with specified user accounts that can allow for data in each Organization to be private from other users.
Adding an Organization:
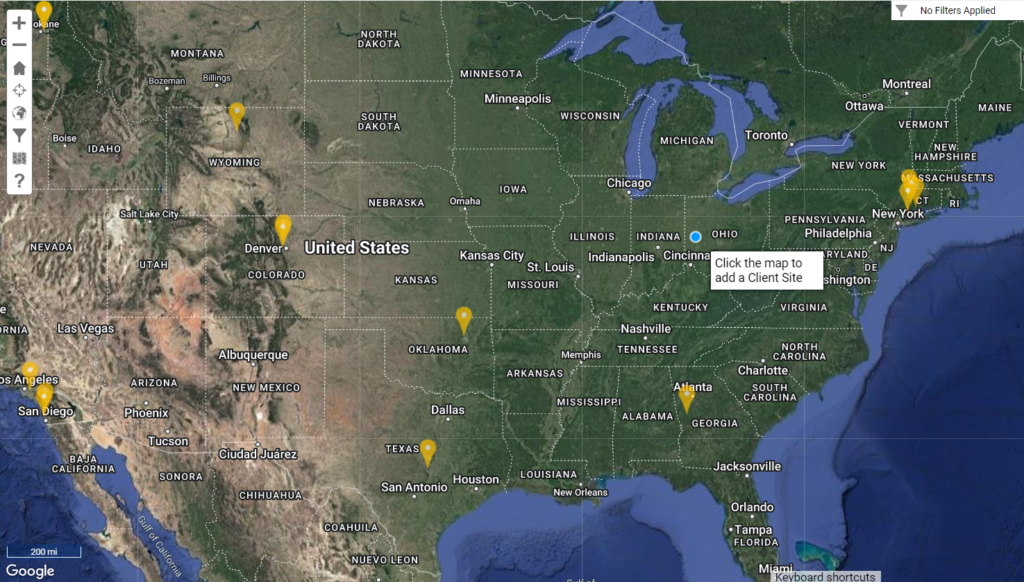
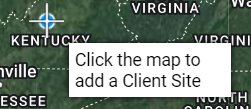
Adding an Organization is a similar process to adding a tree point. First, you’ll need to open the Legend and select the Organizations layer. Then, you simply move the cursor and click on the map where you would like the Organization to be. The Organization Details window will pop up, and any information about the Organization, such as its name or organization type, can be added. Once necessary details are filled out, the Organization Details window can be closed, and a yellow map icon will appear on the map. If more Organizations are added, a yellow map icon will appear for each Organization, and can be clicked on to access specific data in each Organization.
Accessing Your Trees:
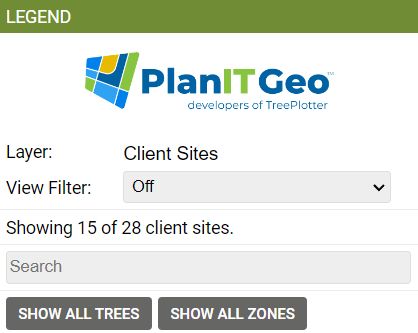
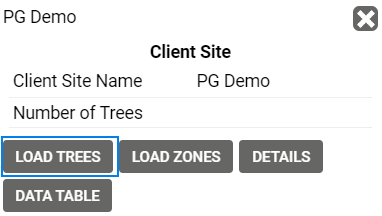
When a TreePlotter application with Organizations is opened, the Organization icons will show up first, rather than tree points. To access the tree data for an Organization, click on the yellow Organization icon; this will open a window with the Organization name and number, and give a few buttons such as Load Trees, Load Zones, Details, and Data Table. To access your trees, click on the ‘LOAD TREES’ button. From there, the map will snap to the home view for that Organization and all tree data points for that Organization will come into view. To return to the main screen with all other Organizations, open the Legend and select the Organizations layer.
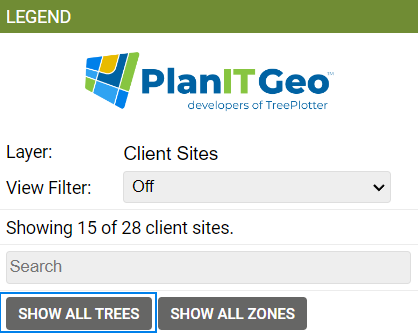
In addition to seeing all trees within a specific Organization, users with Admin-level access are able to bypass seeing trees in a singe Organization. Instead, these users can view all trees within an application by clicking on the ‘SHOW ALL TREES’ button.
Advantages to using Organizations:
There are several advantages to using Organizations in your TreePlotter application. The most obvious is the power it gives users to organize data. For clients who have large projects with several different departments, branches, or project sites in the same app, this tool makes it significantly easier to have all the data in one space without having it all in view at the same time. Having the data broken up also prevents sluggishness with the app, which can occur when a large amount of data is being displayed at once. Another large advantage is the ability to restrict users from editing or even viewing tree data if their user account has not been assigned to that organization. This provides privacy and security, and gives the client further ability to cater their TreePlotter application to the specific needs of their project.
Known Limitations:
- Users without an Admin-level role are restricted to a subset of Organizations. to view and/or make changes.
