
How to export photos or attachments out of TreePlotter™. These can be tree photos, group photos, or tree inspection photos etc.
Prerequisites:
Steps:
- Amend TreePlotter to show the records that you wish to export
- Go into the Site/Organization/Survey, if needed
- Apply a filter to the data, if needed
- Click on HUB > Data Tools > Exporter
- Select the Export Type to choose the format that the data is exported in, such as CSV or shapefile (this isn’t strictly necessary if you just want the photos, but it is mandatory)
- Select the Layer to export, such as trees, tree inspections or groups etc
- Click on the Advanced link
- Tick the box to Export Photos and Attachments

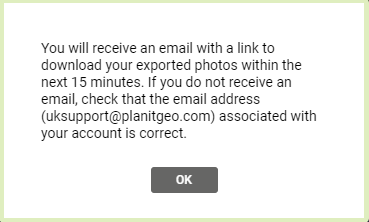
- You will be emailed a link to download the photos
- Download and open the zip file you’ve been emailed to see the photos
- The CSV or Shapefile downloaded (to your usual download location) will contain the Primary ID of each asset and the photos should be prefixed with the same number so you know which tree or inspection the photo relates to.
Note: If you need photos from more than one layer, such as trees and groups, just repeat the above steps for the second layer.
Known limitations:
- If the email address shown isn’t correct, please talk to your administrator to get it updated
- If that’s you, you can edit your User details and amend your email address. Note that you will need to log out and log back in again before downloading the photos
- Please contact support if the Primary ID number doesn’t appear at the beginning of the photo file name
- If you wish to export photos for archived records, you’ll need to apply a filter for archived records before exporting the photos
- In order to access the Exporter tool, the user must have an Admin-level login.