
The crowdsourcing module is a great way to add trees to your TreePlotter™ INVENTORY application with the help of the general public. Here’s how it works.
Once the module has been added to your INVENTORY application, a new landing page will appear on the left hand side of your home screen if you’re on a tablet or desktop and full-screen if you’re on a smartphone. This landing page can include your organization name, logo, photos as well as a brief summary of your programs, intended audience, or mission. Links to other websites can be included too. We also have three layout templates to choose from. At the bottom of the landing page is a 4-step method making it easy for anyone to add existing trees or new plantings to your app and track stewardship activities!

Log In/Sign Up – First time users will have to create an account to be able to access and add/modify tree data. Returning users can simply login with their credentials. You also have the option to login via Google or Facebook.
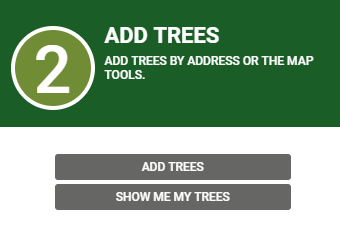
Add Trees – Once logged in, you’re ready to start plotting trees. Click Add Trees to get started.
You will see a new window pop up giving you the option to plot a single tree at a time or you can add multiple trees in a general location all at once. If you would like to plot a single tree at a time, select the species name from the drop down list and hit Plot Tree.
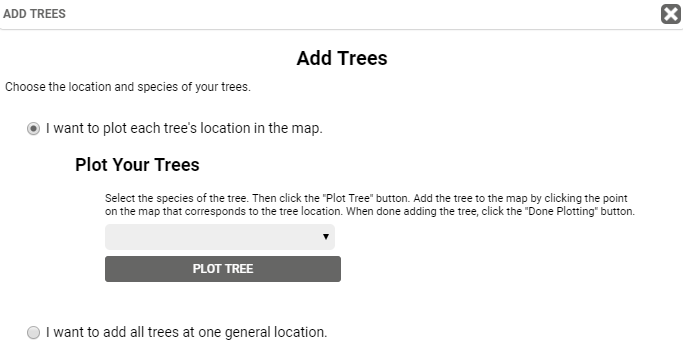
If you decide to plot multiple trees at once, which may be beneficial in some cases, then you’re going to want to select the add all trees in one general location button. From here, select your location and add the tree species as well as the number of trees per species. When finished hit submit.

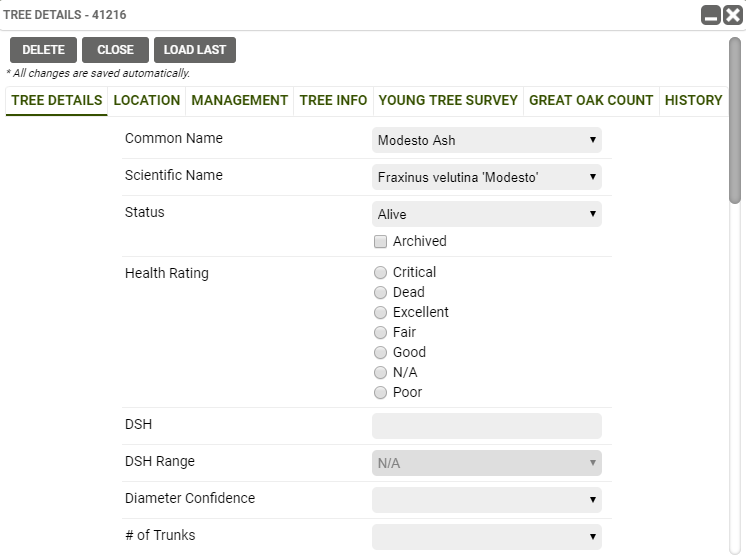
If you are doing a single tree at a time you can add the point using a specific address, GPS location or simply by zooming in on the tree. If you decided to plot multiple trees at once, they will automatically show up on the map (depending on the option you went with for your location; see Step 1 on the image above). If needed, you can also move the points to be more precise by using the Move tool. Once you plot your tree, fill out as much or as little of the Tree Details form as you want. Don’t worry, you can always come back and make edits to this form.
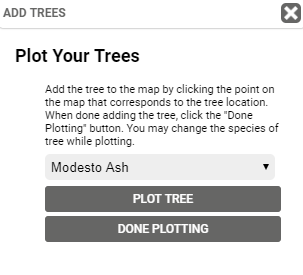
If you have additional trees to plot you can hit Plot Tree located in the Add Trees window on the bottom left hand corner of your page and repeat the process for adding a tree. If you are done you can hit Done Plotting.
It’s important to note that while any user can provide tree data, admins do have the option to verify the tree (data) before it gets displayed in the map.
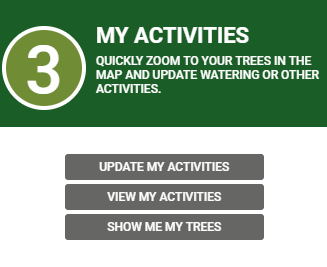
My Activities – If you want to see the last time this tree was watered or mulched, you can track all your activities here.
Connect – Public users can stay connected with various tree or environmental programs the organization may be involved with. You also have the option to include your web page, email and even social media accounts making it easy for the public to stay connected with you.

Comments? Questions? Concerns? Contact us at support@planitgeo.com.