
Learn how to use the draw tool to place temporary overlays on the map that can be printed in TreePlotter™.
Topics covered in this tutorial:
- Navigating to the Draw Tool
- Draw Tool Properties
- Start – Stop and Deleting Drawings
- How to Export your Drawing
Navigating to the Draw Tool:
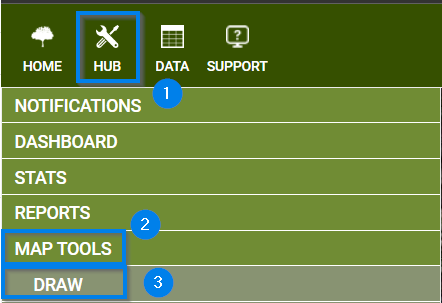
- Navigate to the Hub in the upper left-hand corner of you application
- Scroll down to the Map Tools menu
- Select the Draw option
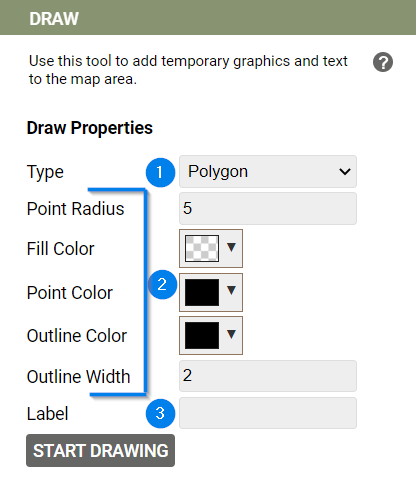
Draw Tool Properties:
- Select a Draw Type
– Point
– Line
– Polygon - Change the parameters
– Drawing color, size, or width
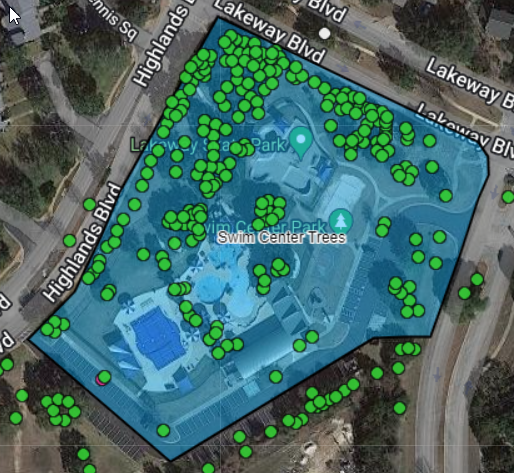
– Fill color opacity - Add a label to the feature added to the map
– The Label will appear on top of and/or in the center of your drawing
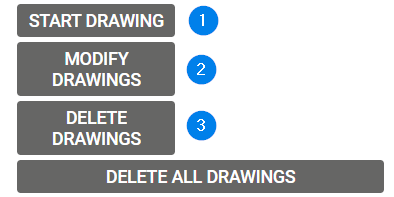
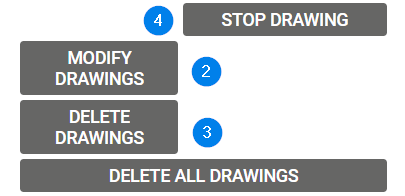
Start/Stop and Deleting Drawings:
- Once your Properties are set, navigate to the ‘Start Drawing’ button
- To delete individual drawings click the ‘Delete Drawings’ button, then select the graphics you want to delete.
- To modify individual drawings, click ‘Modify Drawings’ button, then click a graphic. Click and drag the point or the outline of a line or polygon.
- To exit from the drawing mode press the ‘Stop Drawing’ button
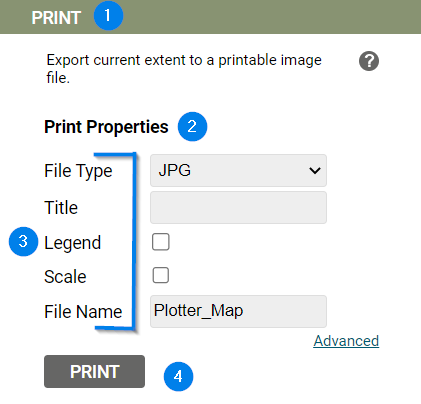
How to Export your Drawing:
- Navigate to the Print option within the Map Tools menu
- Select a file type
- Fill in the Title and File name
– Additionally a Legend and/or Scale can be added in this step - Press the ‘Print’ button
Known Limitations:
- This is a temporary Drawing – the moment you refresh your browser or logout your work will be deleted.