Exported photos from TreePlotter™ INVENTORY are saved as a zipped file of individual .jpg files. However, if you need to bring Photos into an exported spreadsheet you can follow the instructions below. We recommend using Google Sheets because they have specific image functions that are easy to use. There are workarounds in Microsoft Excel, such as creating macros or inserting photos into comment boxes, but they are not covered in this guide.
- Export your trees from INVENTORY to a .csv file. If you need help exporting please check out our Exporter Video. Make sure you include the Photos column in your export.
- Import your .csv file into Google Sheets. Instructions on this process can be found here.
- Once you have your data in a Google Sheets spreadsheet, add a new column where the photos will be inserted. Paste the following formula into the formula bar of the first cell in your new column with slight modifications.
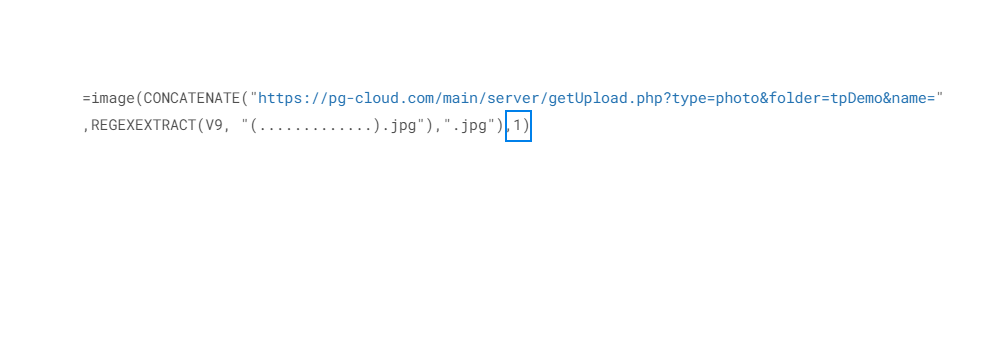
Copy This:
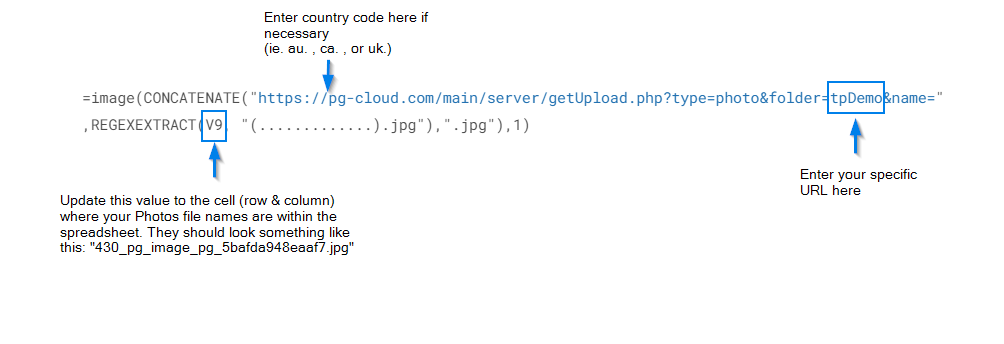
=image(CONCATENATE("https://pg-cloud.com/main/server/getUpload.php?type=photo&folder=tpDemo&name=",REGEXEXTRACT(V9, "(.............).jpg"),".jpg"),1)
Make these edits:
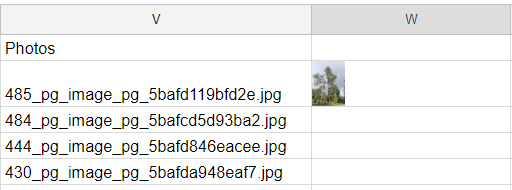
4. If you have entered the formula correctly, a photo should appear in the cell. You can resize the cell to make the photo bigger/smaller.
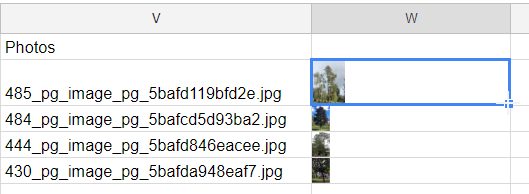
5. Double click the “+” button after hovering over the bottom right corner of the cell to duplicate the formula for the rest of the cells in the column. Photos should appear in the rest of the cells when you do this.
6. Now that your photos are added, you can sort, filter, rearrange the data as necessary.
If you want more control of the sizing of photos, there are options to change how the photos are sized when they come into the Sheet. You can modify the final number in the formula to make these changes.
- 1: resizes the image to fit inside the cell, maintaining aspect ratio.
- 2: stretches or compresses the image to fit inside the cell, ignoring aspect ratio.
- 3: leaves the image at original size, which may cause cropping.
- 4: allows the specification of a custom size. Enter “4” then the sizing desired. Example: 4,200,300
Save as a PDF
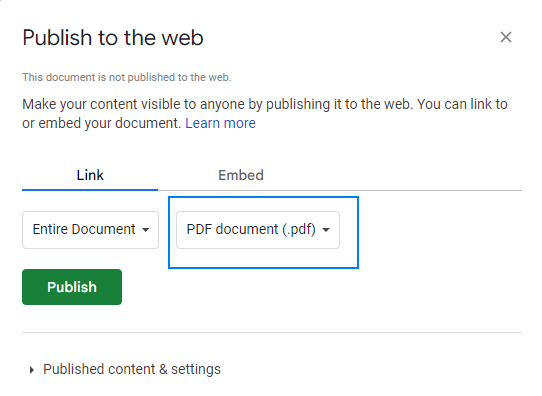
To create a PDF file of your Google Sheet with photos, the easiest way is to “Publish to the web”.
Go to File->Share> Publish to the web.
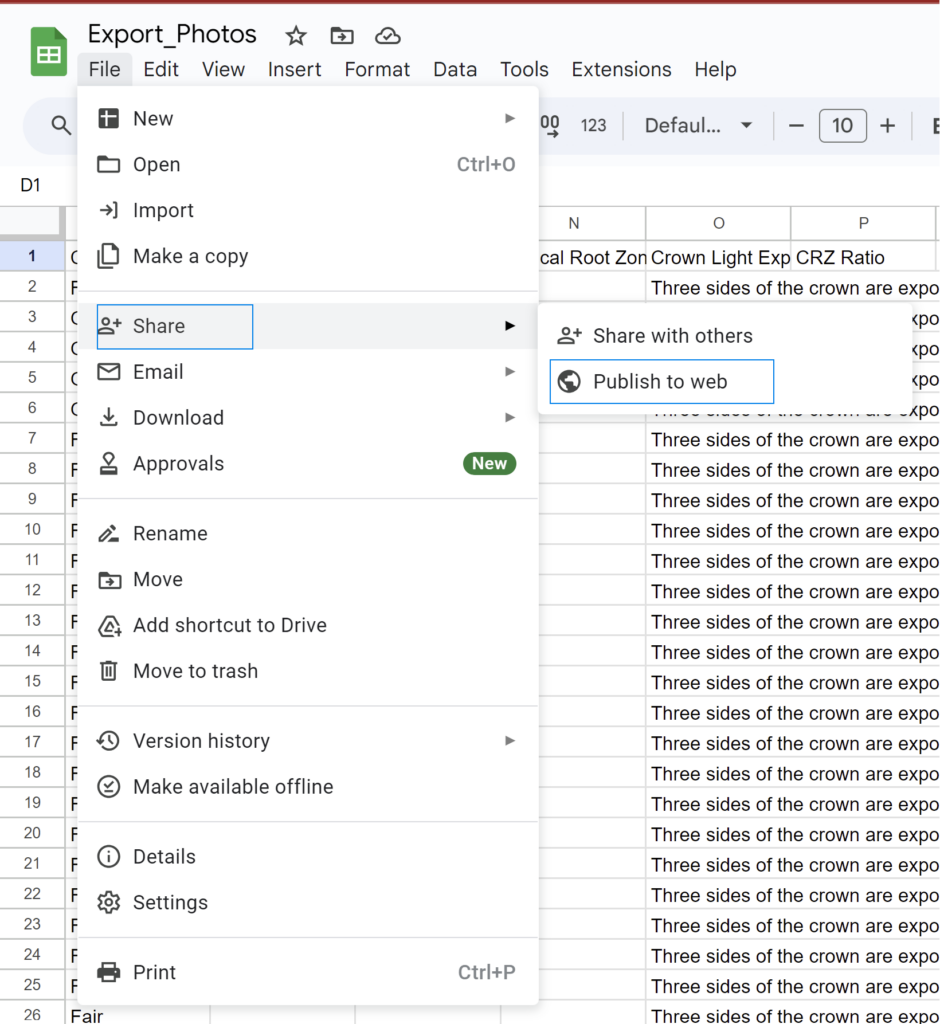
Make the selections for Entire Document and PDF Document and click Publish. A URL will appear that you can copy and paste into a new tab, which will download the PDF to your local computer.