
Want a video tutorial on offline? Click below:
The offline module allows you to collect data without any network connection, using the web browser on your tablet or phone. Offline does not have the same functionality as TreePlotter™ INVENTORY, and new users are generally surprised by differences with INVENTORY. Think of it as more of a collection tool.
Preparing to Work Offline
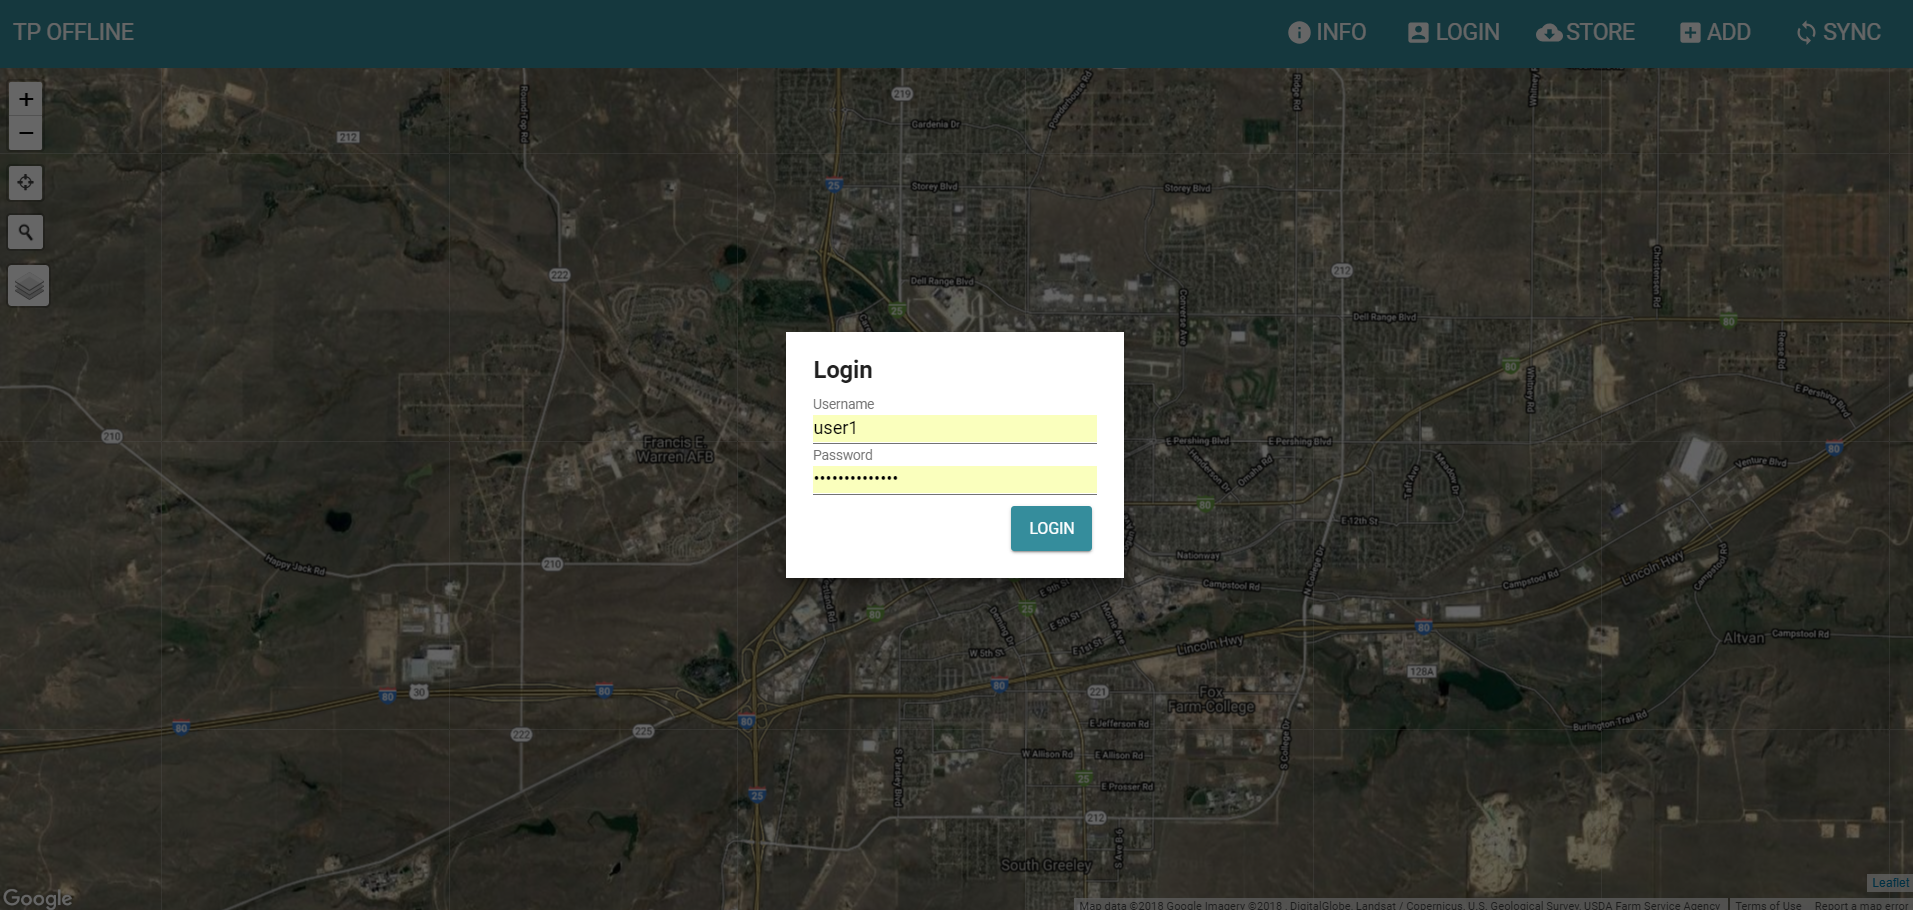
Before you start collecting data offline, you will need to do some preparation while still connected to the internet. If offline is included on your app, you can access it from the icon in the upper right corner. Click the Offline button and a new offline window will open where you will be asked to login. Make sure you have your pop up blocker disabled before trying to access offline.
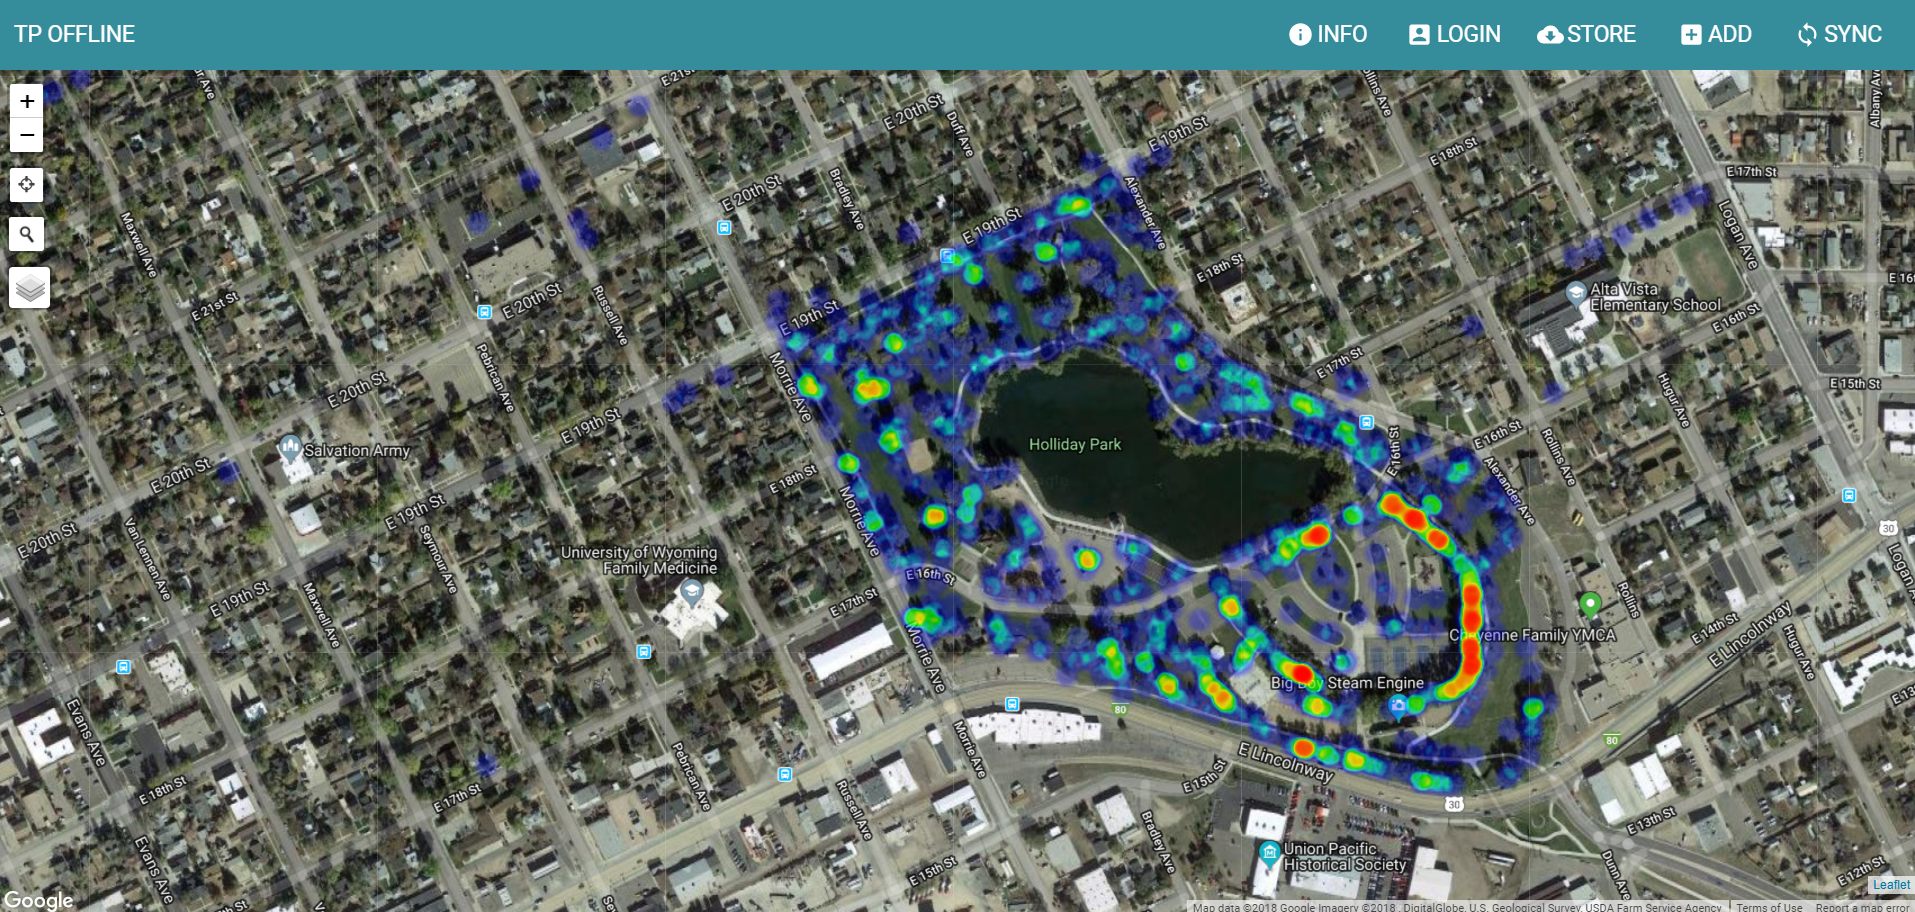
Once logged in you will see a heat map of the current trees in your INVENTORY application. This will help orient you as to where you have already mapped trees. If organizations are loaded into your app you will see your organization icons as well. See Offline with Organizations section at the bottom of this page for additional information.
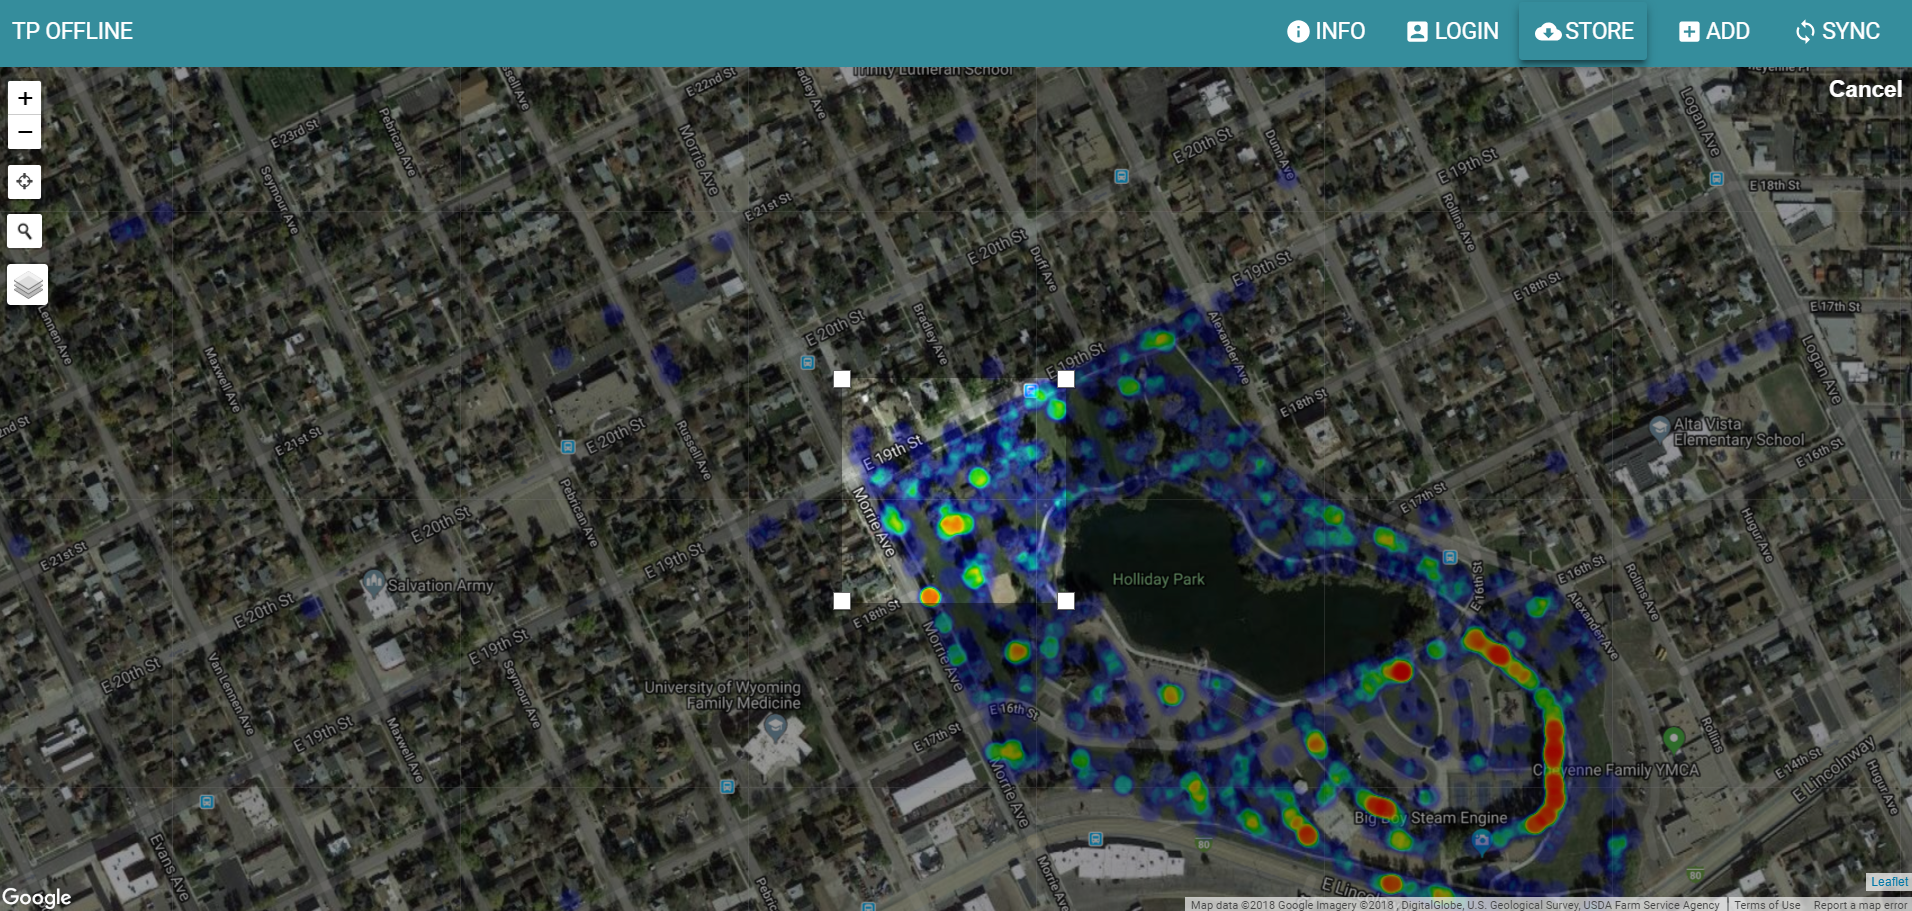
You will then need to select an area to work offline by clicking the Store button. The selected area is where you will continue to see your data and imagery when offline. As you zoom in and out, the screen will change colors depending on the acceptable size of your selected area.
Select area okay
Select area too big
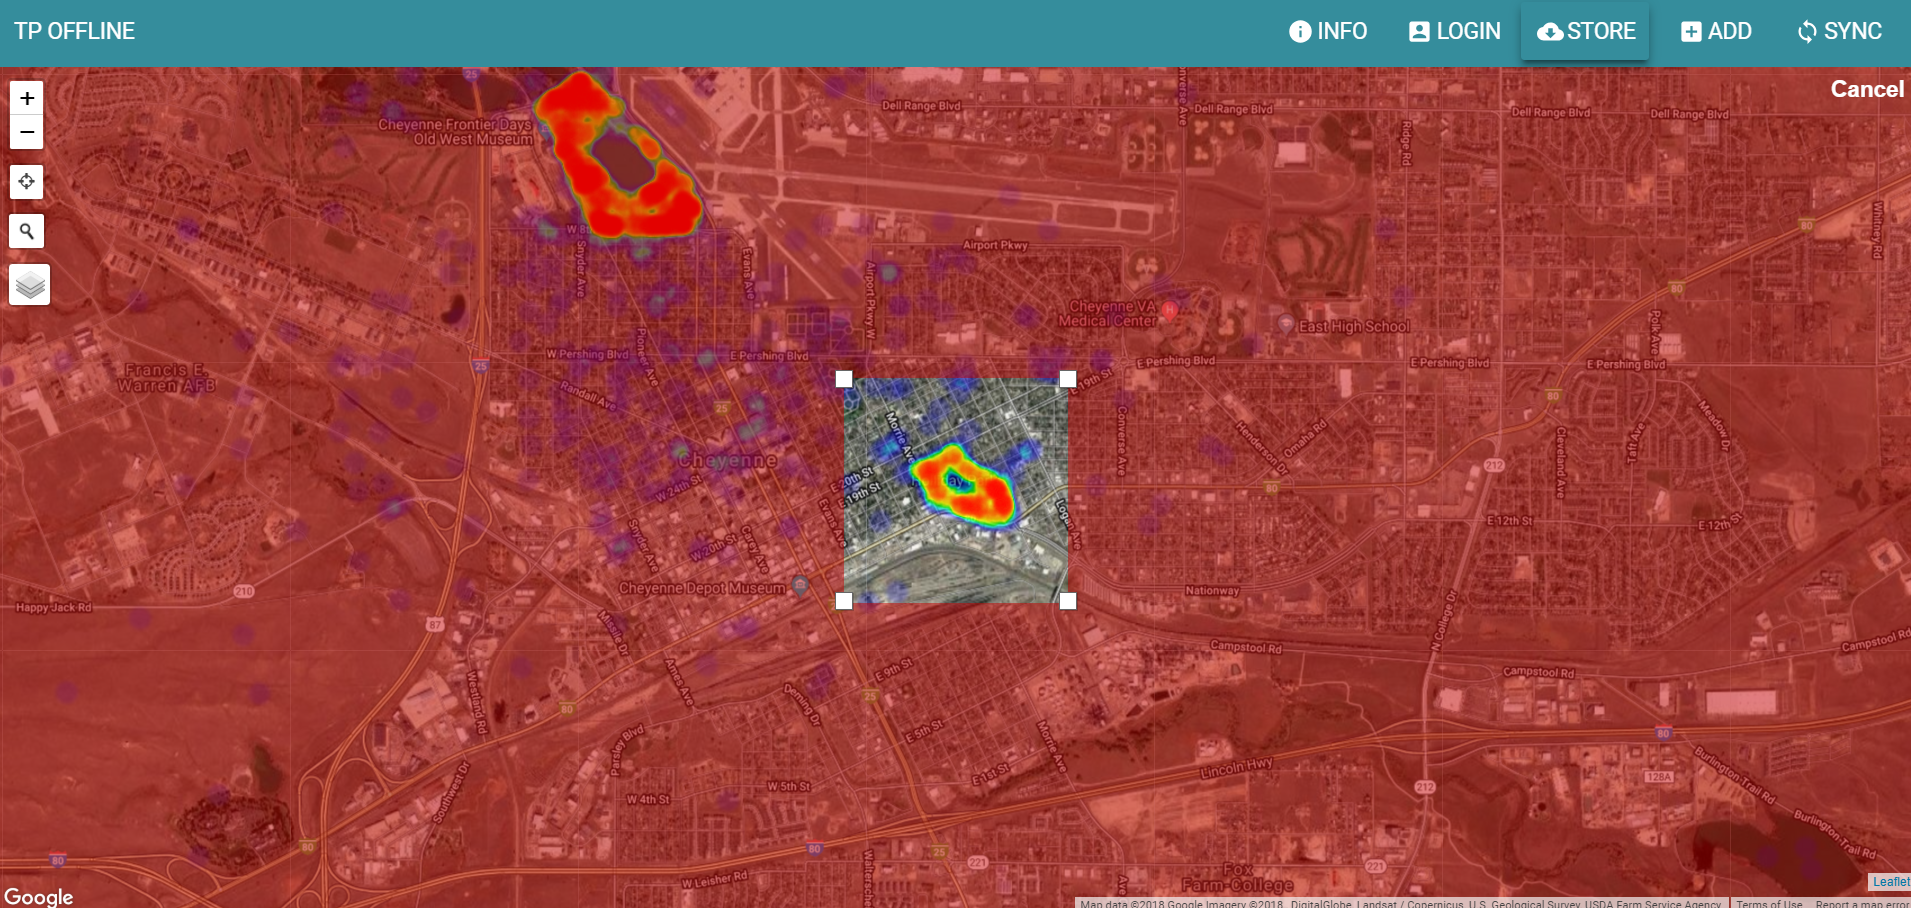
Once you have selected an area that meets the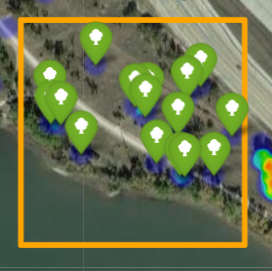 size requirements, (max area: 1 km2) click Store again to save all the data and imagery. The area will populate with green tree icons symbolizing the trees that have already been inventoried. If you select an area without any previous data, no tree points will appear.
You are now ready to start working offline.
Working Offline
Now that you are in the field or somewhere  without internet connectivity, your selected area will still be loaded. You are able to add trees by clicking the add button. You can also edit and remove trees by selecting the tree icon and updating the tree details form that pops up. Trees you have added will turn blue, edited trees will turn orange, and removed trees will no longer appear on the screen. Right click on a tree to move it (click and hold on a tree to move it for mobile devices).
Note: When you are offline, you can add trees anywhere, even outside the selected orange area.
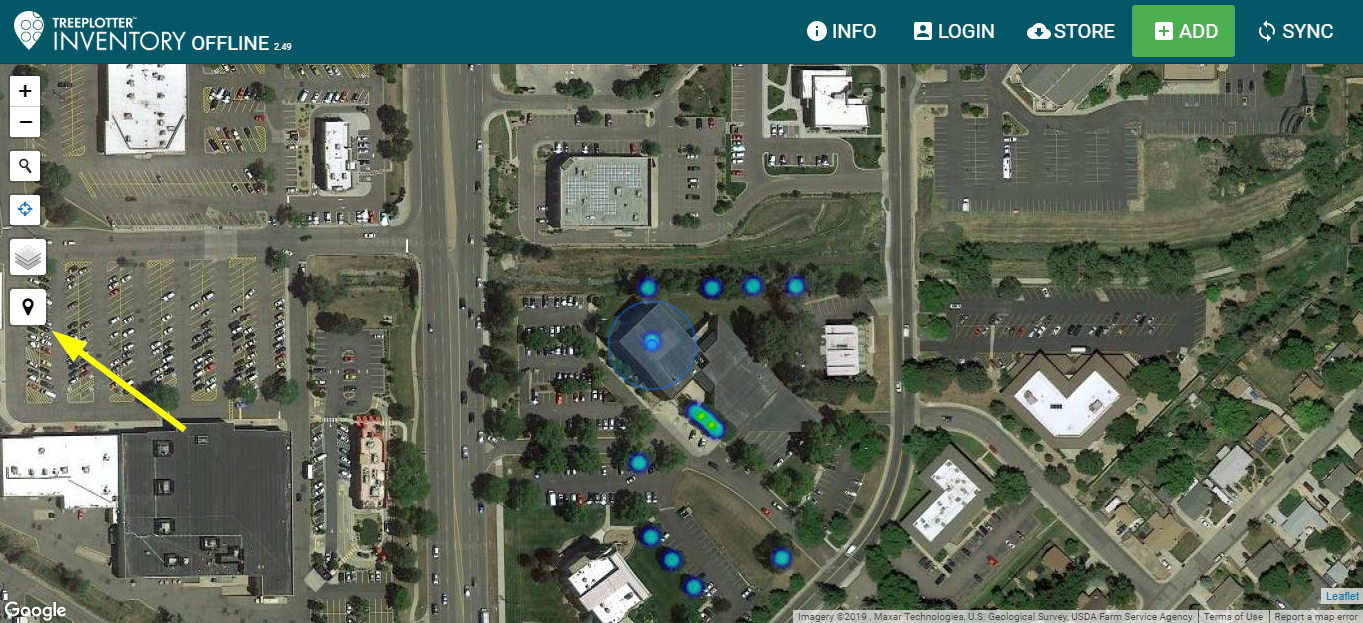
To add features by GPS click the “Add” button on the top right and select the type of feature you would like to add. Then click the “Add by GPS” option when prompted. Offline should automatically pan the map to a blue circle where your current location is. From there you can add features by clicking the pin button on the left hand side of the map.
The tree details form will look slightly different than 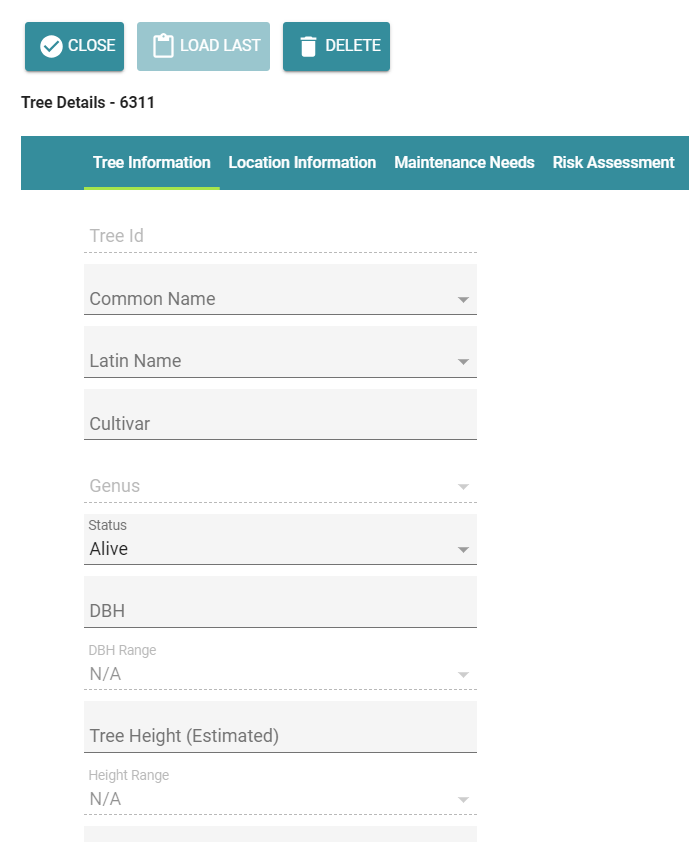 how you might be used to, however, it functions exactly the same. You are still able to load the information from the last tree mapped, select from your species list, and take photos.
The Offline module does support adding photos while offline, in our tests most devices have enough web browser storage space to take 50+ photos at a time before syncing. Old devices running out of date operating systems or web browsers may be limited to a smaller number of photos.
Syncing your data
To sync the data you have collected: return to a location with an internet connection, refresh the page, log back in, and click the Sync button. The tree icons will turn green as they sync to your site. Reload your regular site and you will see all the updates.
We have found that there are different workflows best for working completely offline, versus partially connected. It is very important you ‘try out’ the offline collector, say, around the office, prior to heading out for your first collection, to familiarize yourself with how it works. We recommend selecting an area, going offline using Airplane Mode (or by turning off the device wifi), collecting some points, and returning to a connection to sync.
Offline with Organizations
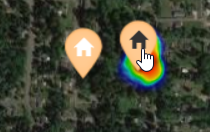
If your application has organizations, when you log in you will see each of your organizations symbolized by a white house.
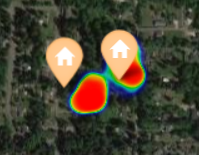
Clicking on the house icon will select it and turn it black. When an organization is selected the heat map will only show trees in the selected organization, stored trees will only come from the selected organization, and added trees will automatically add to the selected organization. This is a great way to limit your offline collection to a specific organization.
Note: You can collect and edit tree data from all organizations by not selecting an organization icon before starting the process.